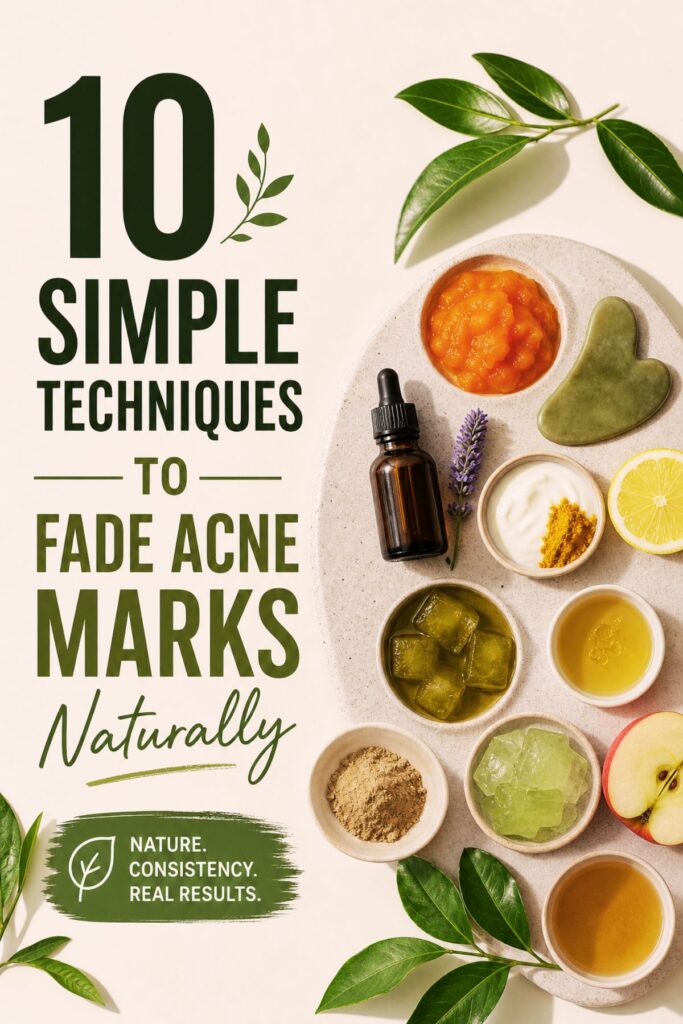
How to Remove Acne Marks Naturally (These Flat Dark Spots Don’t Stand a Chance)
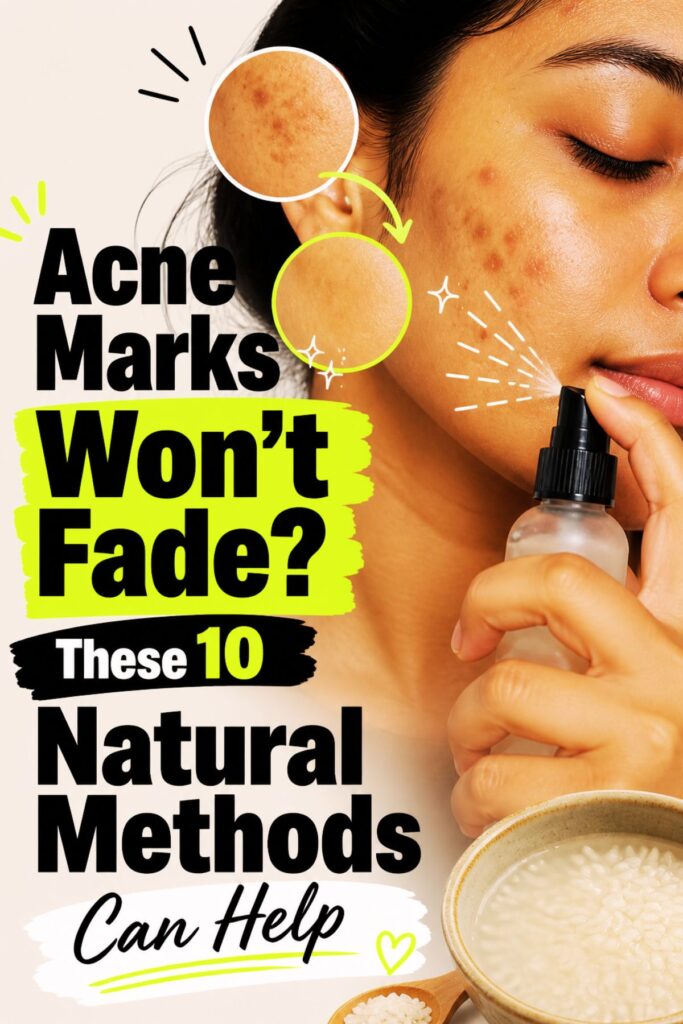
Those dark spots acne leaves behind after it heals? The flat, stubborn, shadow-like marks that make your skin look like it’s still broken even though nothing is actually going on? Yeah. Here you’ll learn how to remove acne marks naturally, and more specifically, about making those spots fade faster than your skin would on its own.
These are not the pitted or raised scars that change your skin’s texture; those are a different battle for a different day (and you can fine the specific natural methods to remove those acne scars here).
These are the flat dark patches, the ones most people mean when they search acne scar removal, and the good news is they respond really well to natural treatments. Your skin genuinely wants to move on from them. You just have to help it along.
Below are 10 natural remedies. Some work fast, some slow, some are from your kitchen, and a couple you’ve probably never heard of. Pick 2 or 3, commit, and give your skin a real chance.
Before Anything Else: The Rule That Makes or Breaks All of This
Sunscreen. Every single day.
Every time you go outside without SPF, your marks get darker. The sun essentially tells your already-irritated skin cells to produce more pigment, and your marks pay the price. A mineral sunscreen is the best option for acne-prone skin; it sits on top of the skin, doesn’t clog pores, and physically blocks the sun instead of absorbing into your skin.
You could do every single remedy on this list and still see zero results if you skip this. Not a scare tactic. Just how skin works.
1. Fermented Rice Water Toner
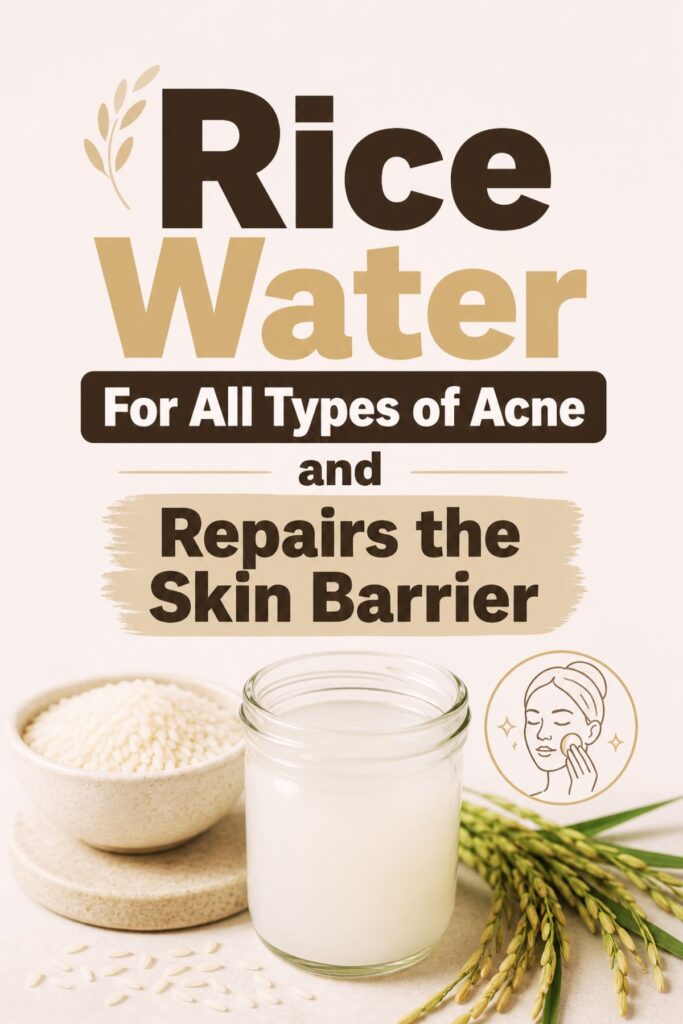
What makes it special: Brightening, texture-improving, and almost embarrassingly cheap to make.
Speed: Gradual magic; give it 3–4 weeks of nightly use.
You may have seen rice face masks for acne floating around, but fermented rice water is different. The fermentation process increases the concentration of natural brightening compounds that tell your skin to stop producing pigment in those damaged spots. It’s been a staple in East Asian skincare for centuries, and it costs almost nothing.
How to make it:
- Rinse ½ cup of plain white rice
- Soak in 2 cups of water for 24–48 hours at room temperature
- It will smell slightly sour; that’s exactly what you want
- Strain and pour into a clean spray bottle
- After cleansing each night, spritz onto your face, leave 10–15 minutes, rinse off
Your skin texture will quietly start becoming something you brag about. The dark spots begin to lift. It looks like nothing. It isn’t nothing.
2. Papaya Enzyme Mask
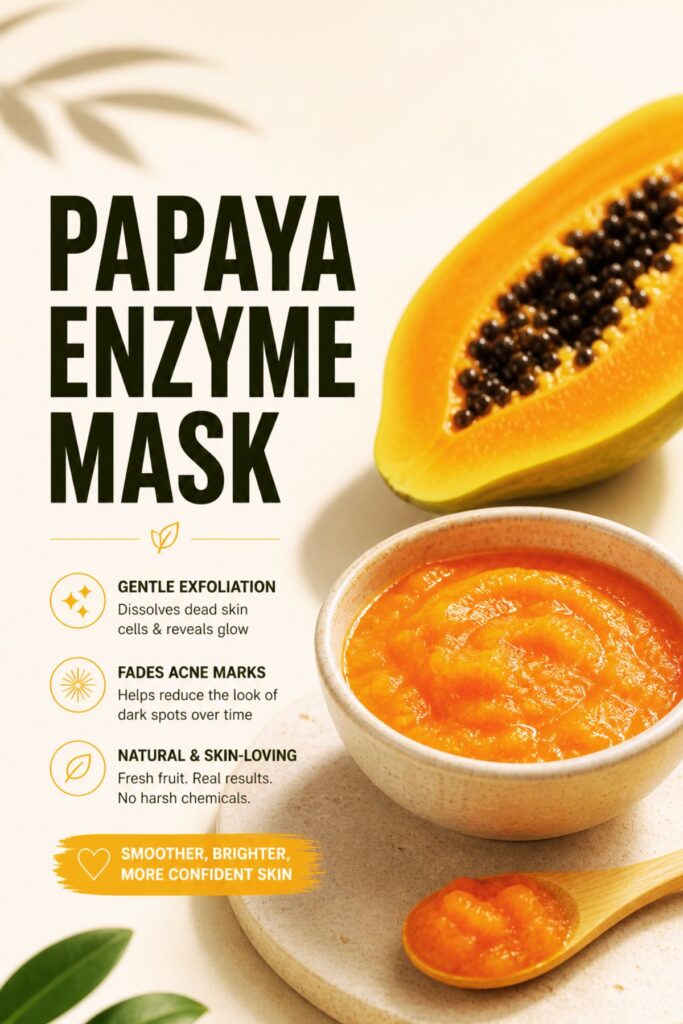
What makes it special: Fresh fruit that dissolves dead skin cells on the surface so your marks can’t hide behind them.
Speed: You’ll feel it working after the first use; visible fading in 2–3 weeks.
Ripe papaya contains a natural enzyme that gently breaks down and removes the dull, dead layer sitting on top of your skin. It’s what expensive exfoliant serums are trying to replicate in a lab, and the real thing is gentler and friendlier to sensitive skin.
The mask:
- Mash 3–4 tablespoons of very ripe papaya (the riper the better)
- Add 1 tsp raw honey
- Apply to face for 15–20 minutes
- Rinse with cool water
Use 2–3 times a week. A gentle tingling means it’s working. Actual burning means rinse it off; your skin needs a break. This one is one of those remedies that feels almost too simple. It isn’t.
3. Turmeric + Yogurt + Rosehip Oil Mask
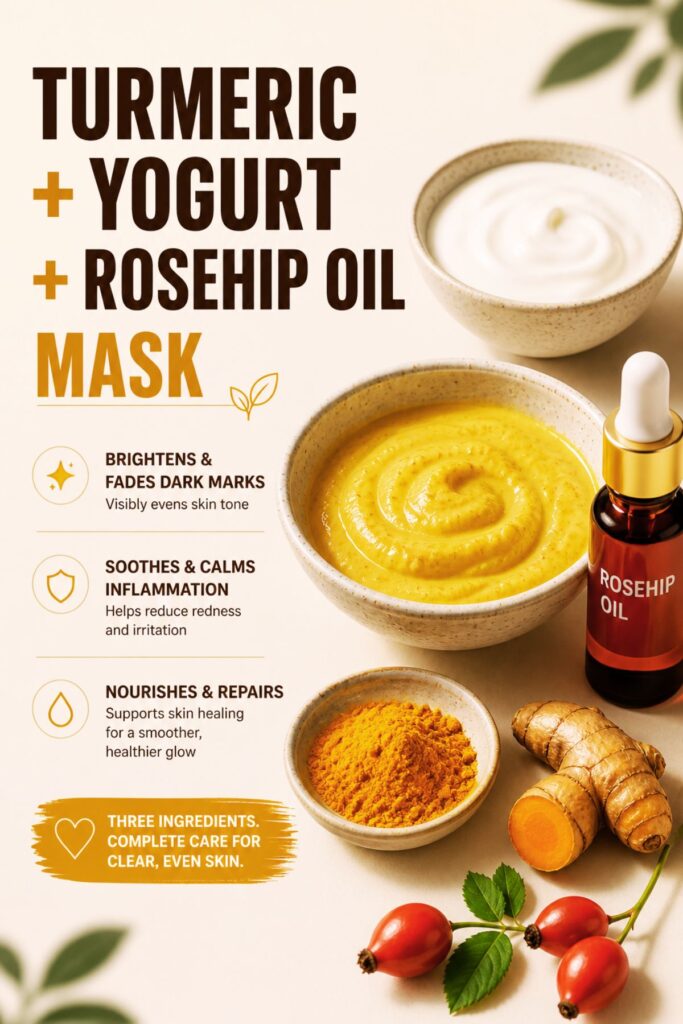
What makes it special: Three ingredients that each do something different, and together cover almost everything your skin needs to fade marks.
Speed: Noticeable brightening in 2–3 weeks; deeper marks take 6–8 weeks.
This is not your standard turmeric mask. The yogurt gently resurfaces the skin’s top layer. The turmeric brightens and calms any residual inflammation. And the rosehip oil; the ingredient most recipes leave out; is packed with natural compounds that specifically support skin repair and help fade discoloration.
The exact recipe:
- 1 tsp turmeric (Kashmiri turmeric stains less and works better)
- 2 tbsp plain full-fat yogurt
- 5 drops rosehip oil
Mix, apply for 15 minutes, rinse with lukewarm water. Wear an old shirt. Twice a week. This is one of the most complete natural treatments for acne marks you can make at home, and most people are making it wrong by leaving the rosehip out.
4. Willow Bark Powder Spot Treatment
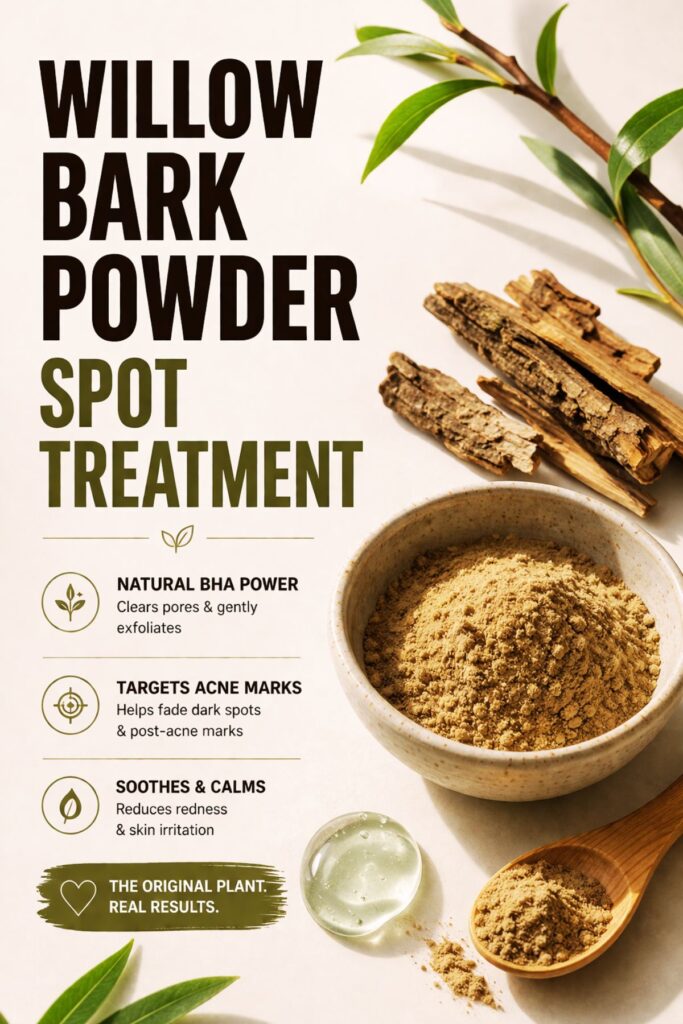
What makes it special: The original plant that synthetic acne serums are made from. The real thing, straight from the source.
Speed: Starts working on surface marks within days; older marks fade over several weeks.
The active ingredient in half the acne spot treatments on the market was originally derived from willow bark. You can skip the lab version entirely and go straight to the plant. Willow bark powder is easy to find online and works as both a gentle surface exfoliant and a natural mark-fader.
Spot treatment:
- Mix a small amount of willow bark powder with aloe vera gel into a paste
- Apply directly to marks
- Leave 20 minutes, rinse
It’s slower than a concentrated serum, but your skin barrier stays intact and happy. Use 3 times a week. This one is especially good if your skin tends to react badly to commercial treatments.
5. Neem + Aloe Vera Overnight Treatment
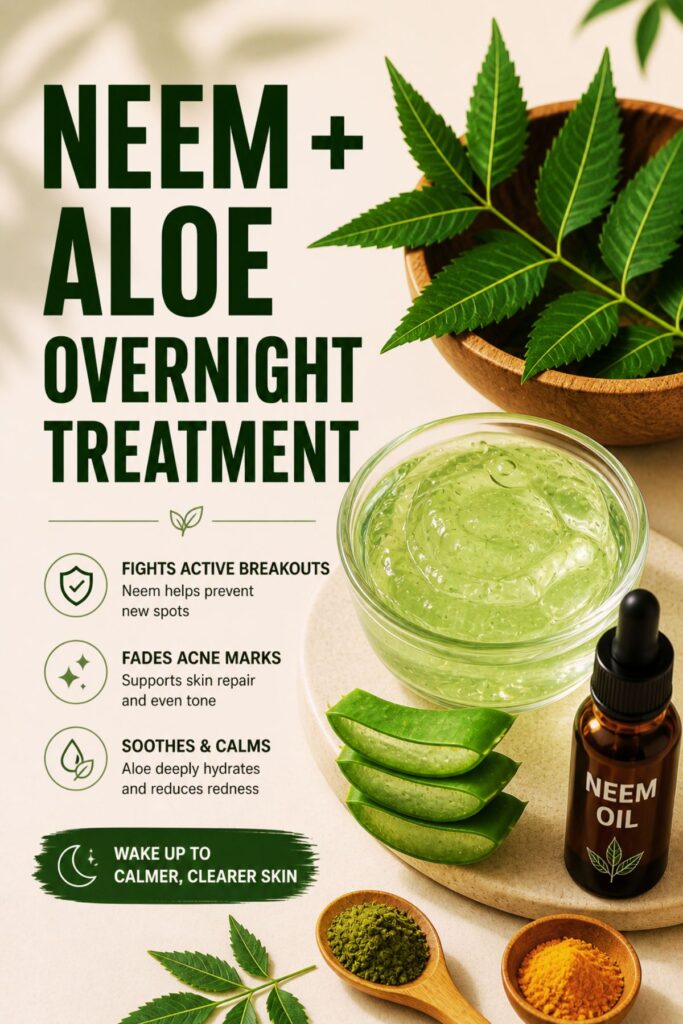
What makes it special: The only one on this list that handles active breakouts AND existing marks at the same time.
Speed: Marks fade gradually over 4–6 weeks; any active spots calm down much faster.
If you’re still getting the occasional breakout alongside your marks, this is your treatment. Neem stops new breakouts from forming. Aloe vera speeds up how fast your skin repairs itself. Together they work on your skin’s whole situation at once.
Mix:
- 1 tbsp pure aloe vera gel
- 5 drops neem oil
- Optional: a tiny pinch of turmeric for stubborn patches
Apply to marks and any active spots before bed. It has a smell. Commit anyway. You can also find neem-based treatments if you’d rather not deal with the raw oil. A neem face pack for acne is also worth trying if you want a wash-off version.
If you’re still figuring out your breakouts alongside the marks, this deep dive on home remedies for acne by type will help you work out what’s actually going on with your skin.
6. Green Tea Ice Cubes
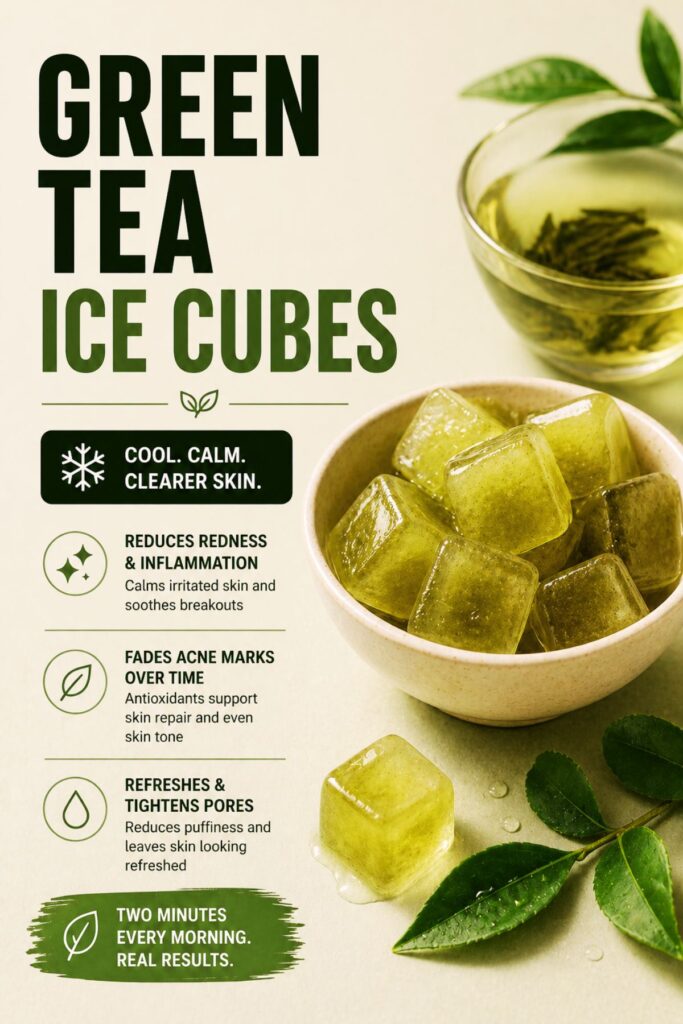
What makes it special: Two minutes every morning that cost essentially nothing and quietly change your skin over time.
Speed: Visible brightening builds over 3–4 weeks; the glow improvement is faster.
Make strong green tea. Cool it. Freeze it in an ice cube tray. Every morning, wrap one cube in a thin cloth and massage your face in small circles for 2–3 minutes before your skincare routine.
Why it works:
- Green tea is full of natural compounds that signal your skin to stop deepening those marks
- The cold reduces any lingering dullness and wakes the skin up
- It primes your skin to absorb everything you apply afterward more effectively
It sounds too small to matter. A month of doing this every morning and you’ll understand.
7. Bakuchiol Oil at Night
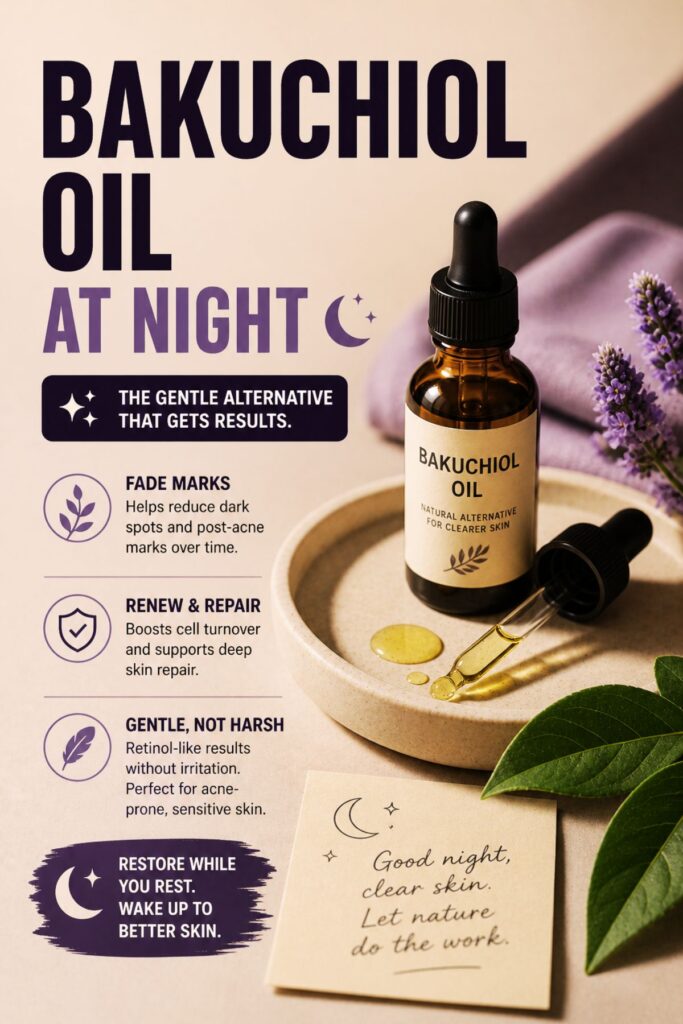
What makes it special: Does what retinol does, without the chaos retinol brings to acne-prone skin.
Speed: The slow burn of the list; real results at 8–10 weeks. Completely worth it.
If you’ve tried retinol and experienced the nightmare; the peeling, the purging, more breakouts, a wrecked skin barrier; bakuchiol is what you should have been using. It’s a plant-derived compound that works the same way as retinol on your skin but without the irritation.
It speeds up the rate at which your skin renews itself, helps fade discoloration, and supports the kind of deep skin repair that also helps with any subtle texture left behind by old breakouts. Bakuchiol serum is widely available now. Apply 3–4 drops to clean skin at night, before moisturizer. Commit for 8–10 weeks.
This is the long game remedy on this list. It’s also the one that quietly improves everything; marks, skin tone, texture, and even fine lines. One bottle, a lot going on underneath.
8. Kitchen Vitamin C Serum
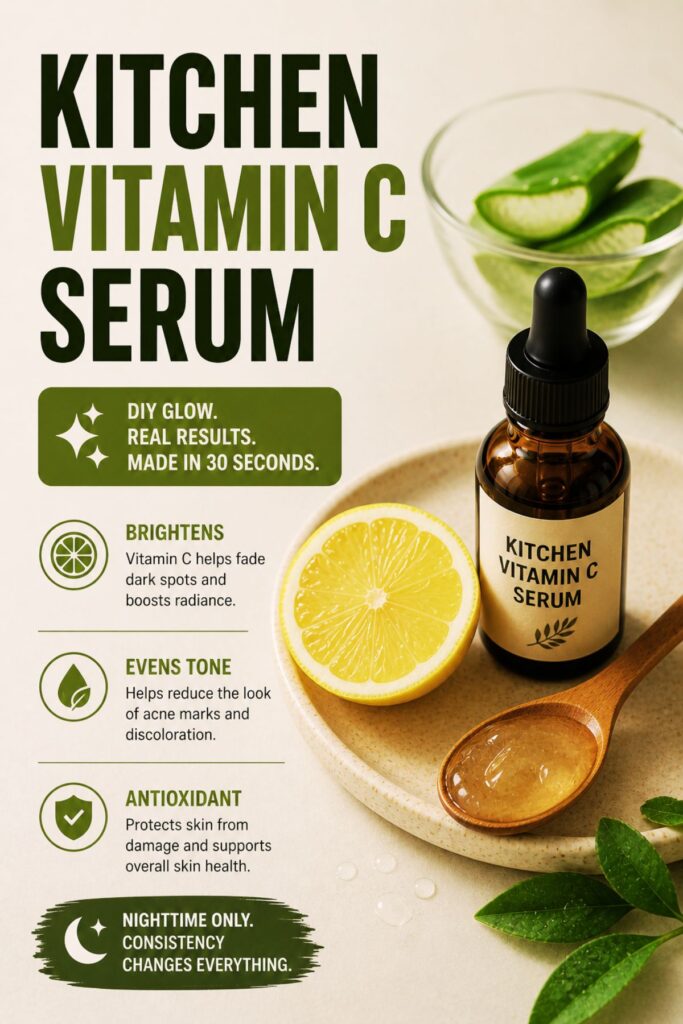
What makes it special: The DIY version of a $60 serum, made in 30 seconds.
Speed: Gradual brightening over 4–6 weeks with consistent nightly use.
Vitamin C is one of the most proven natural ingredients for fading dark spots. You don’t need a fancy product to get it.
Lemon + aloe serum:
- 1 tsp fresh lemon juice
- 3 tbsp pure aloe vera gel
- Mix, store in a small dark bottle in the fridge; use within 5 days
- Apply at night after cleansing, before moisturizer
Important: lemon on skin plus sun equals more dark spots, not fewer. Nighttime only, always.
Don’t apply straight lemon juice; it’s too strong on its own. The aloe brings it to a skin-friendly level while adding its own healing properties. Simple, cheap, and it works.
9. Gua Sha for Circulation
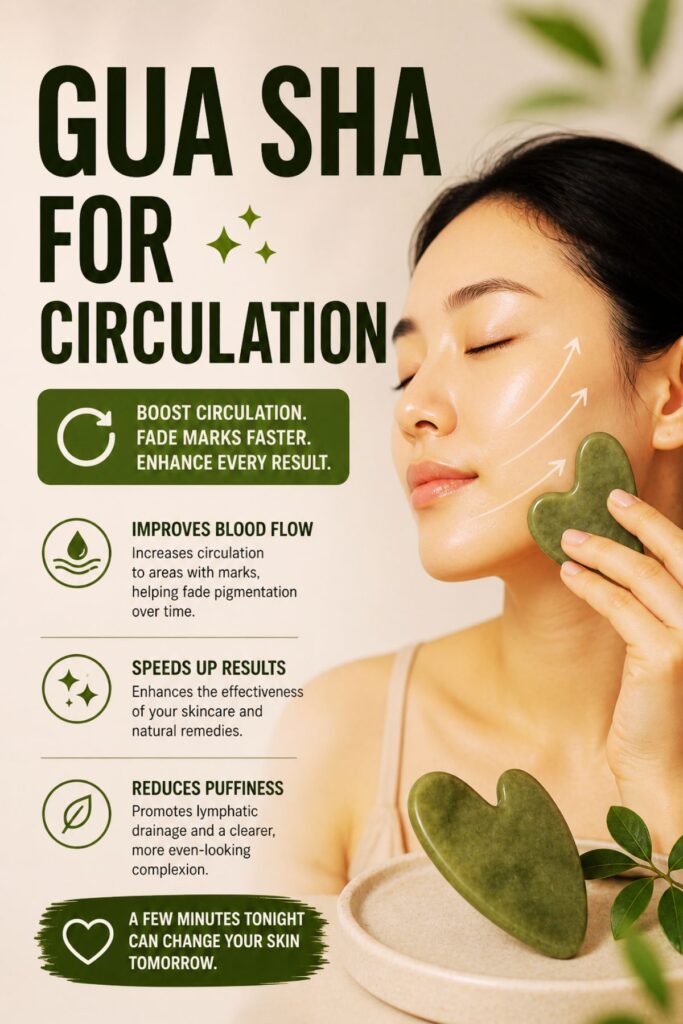
What makes it special: Uses a tool you might already own in a way almost nobody talks about.
Speed: Supports and speeds up results from other remedies rather than working solo.
Most people use gua sha for face contouring. But using it over areas with marks increases blood flow to the skin in those spots, which helps your skin break down the pigment that’s sitting there faster. Think of it as manually helping your skin do what it’s already trying to do.
After applying your oil or serum at night, use the flat side of a gua sha tool and stroke outward and upward; chin to ear, nose to temple; five slow strokes per area. Light pressure. You’re not scraping; you’re coaxing.
Use this 4–5 nights a week alongside your other treatments. It amplifies everything else on this list.
10. Apple Cider Vinegar Toner
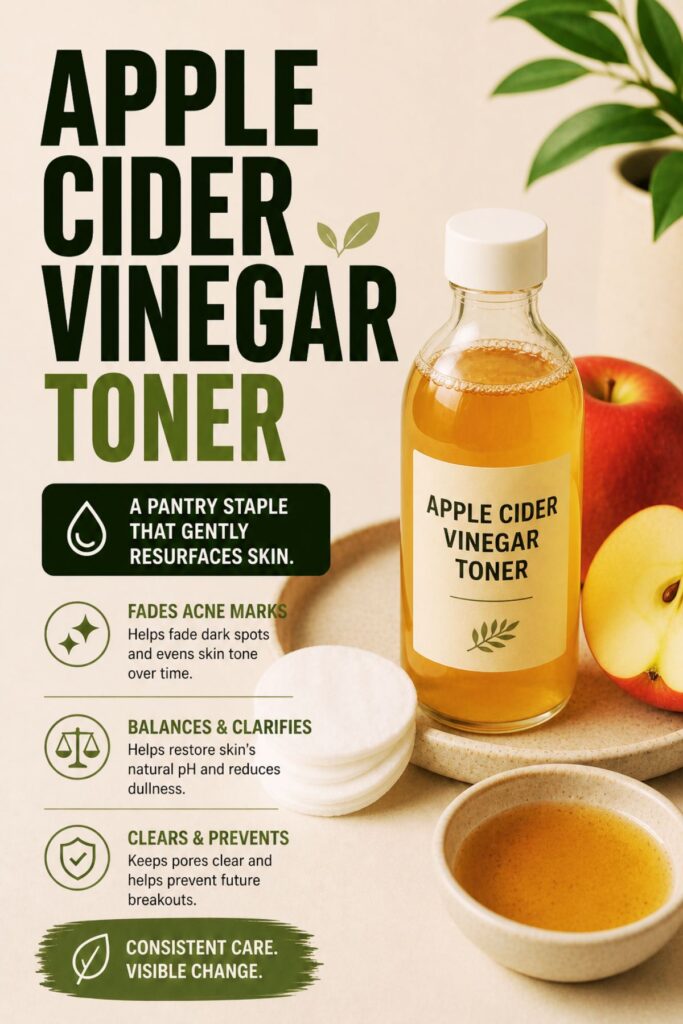
What makes it special: A pantry staple that gently resurfaces skin over time when used correctly.
Speed: Gradual; 4–6 weeks for visible fading on lighter marks.
Apple cider vinegar contains natural acids that gently loosen and lift the surface layer of skin over time, helping marks fade faster. The key word is diluted; straight ACV on your face will do more harm than good.
The right ratio:
- 1 part ACV to 3 parts water (1 to 4 if your skin is sensitive)
- Apply with a cotton pad after cleansing
- Leave 5 minutes, rinse
- Follow with moisturizer
Use every other night. Alternate with the fermented rice water toner rather than using both on the same night. Your skin needs balance, not a pile-on.
What About Body Acne Marks?
Everything above works for your face, but back acne and chest acne marks need a slightly different approach because the skin there is thicker.
- The fermented rice water works great as a back spray.
- Tea tree oil mixed into an unscented body wash is one of the best daily tools for body marks.
- And gentle exfoliation with a konjac sponge a few times a week in the shower makes a real difference over time.
Your Realistic Timeline
Pick 2–3 remedies from this list, commit, and here’s what to expect:
- Weeks 3–4: Lighter marks start to visibly lift; skin tone looks more even overall
- Weeks 6–8: Significant fading on most marks; the ones you’ve had longest are catching up
- Weeks 10–12: Older or deeper marks are now clearly lighter; skin looks like yours again
Consistency beats intensity every time. A simple routine done every night will always outperform an elaborate one done twice a week.
More Natural Remedies
If you’re into solving skin and body stuff the natural way, there’s a whole corner of this site for you:
- Old School Home Remedies for Acne (By Type of Acne)
- 6 Types of Acne and How to Get Rid of Acne for Good
- How to Remove The Textured Acne Scars Naturally
- How to Get White Teeth at Home: 10 Natural DIYs That Actually Deliver
- How to Get Rid of a Bloated Belly Fast
- Which Oil Should You Be Oil Pulling With?
Save this pin!